
The Chick-fil-A chicken sandwich has become a legend in the fast-food world, celebrated for its juicy, flavorful chicken and perfectly crispy coating. But what if you could enjoy that same mouth-watering goodness at home, with a healthier twist? This air fryer recipe lets you recreate a Chick-fil-A copycat sandwich that’s just as delicious, but with significantly less fat. Say goodbye to the oil-soaked fast food and hello to a guilt-free indulgence right from your kitchen.
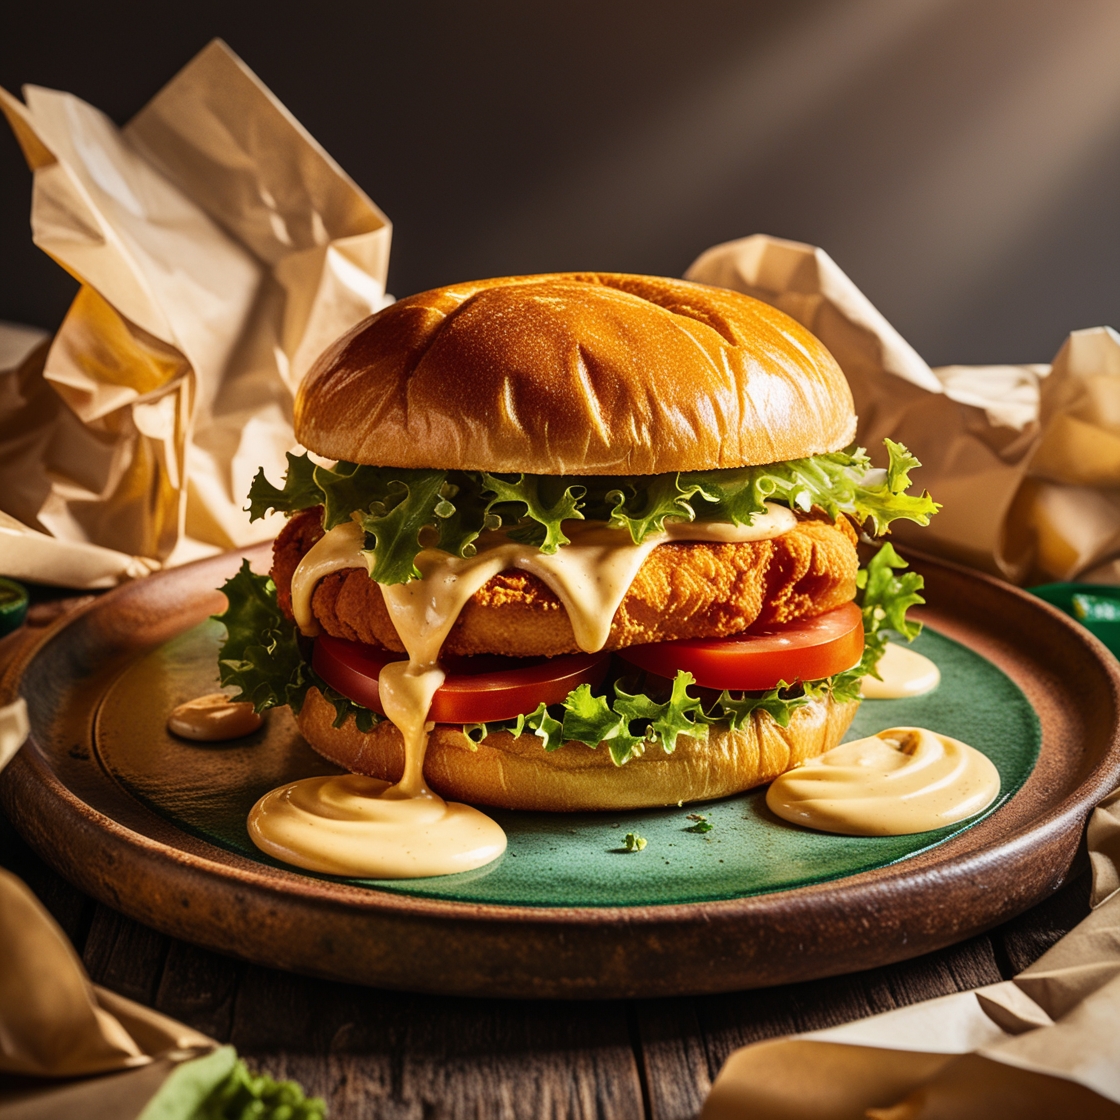
Recreating the Chick-fil-A chicken sandwich at home with an air fryer is a game changer. You achieve that satisfying crunch and juicy chicken without the excess oil. This method slashes the fat content, making it a much healthier option. Plus, you can control the ingredients, ensuring a fresh and wholesome meal.
1.Nutritional value:
While the original Chick-fil-A sandwich is delicious, it’s important to know its nutrition facts. Here’s a breakdown of what you get in a typical meal:
Calories: About 440, enough to give you energy. However, it’s important to watch your portion sizes.
Protein: With 28 grams of protein, this sandwich is great for muscle recovery and growth.
Carbohydrates: It contains 41 grams of carbs, which provide the energy needed for your daily activities.
Fat: The sandwich has about 19 grams of fat, a combination of healthy fats from the chicken and added fats from frying. Using an oil-free fryer can significantly reduce this amount.
Key micronutrients:
Vitamin A: Present in small amounts, it supports healthy vision and a strong immune system.
Vitamin C: Found in trace amounts, can be increased by adding fresh vegetables such as lettuce and tomatoes.
Calcium: Provides 15% of the recommended daily intake, essential for strong bones.
Iron: Also at 15% of the recommended daily intake, iron is important for maintaining healthy blood and energy levels.
Sodium: The sandwich is high in sodium, about 1400 mg, which is more than half the recommended daily limit. High sodium can increase blood pressure, so use less salt and avoid high-sodium sauces.
Fiber: With 2 grams of fiber, it helps support digestion. Choosing bread made from whole grains can increase the fiber content even more.
Enjoy your Sandwich in moderation
The Chick-fil-A chicken sandwich is definitely a delicious, convenient, protein-rich, and filling meal.
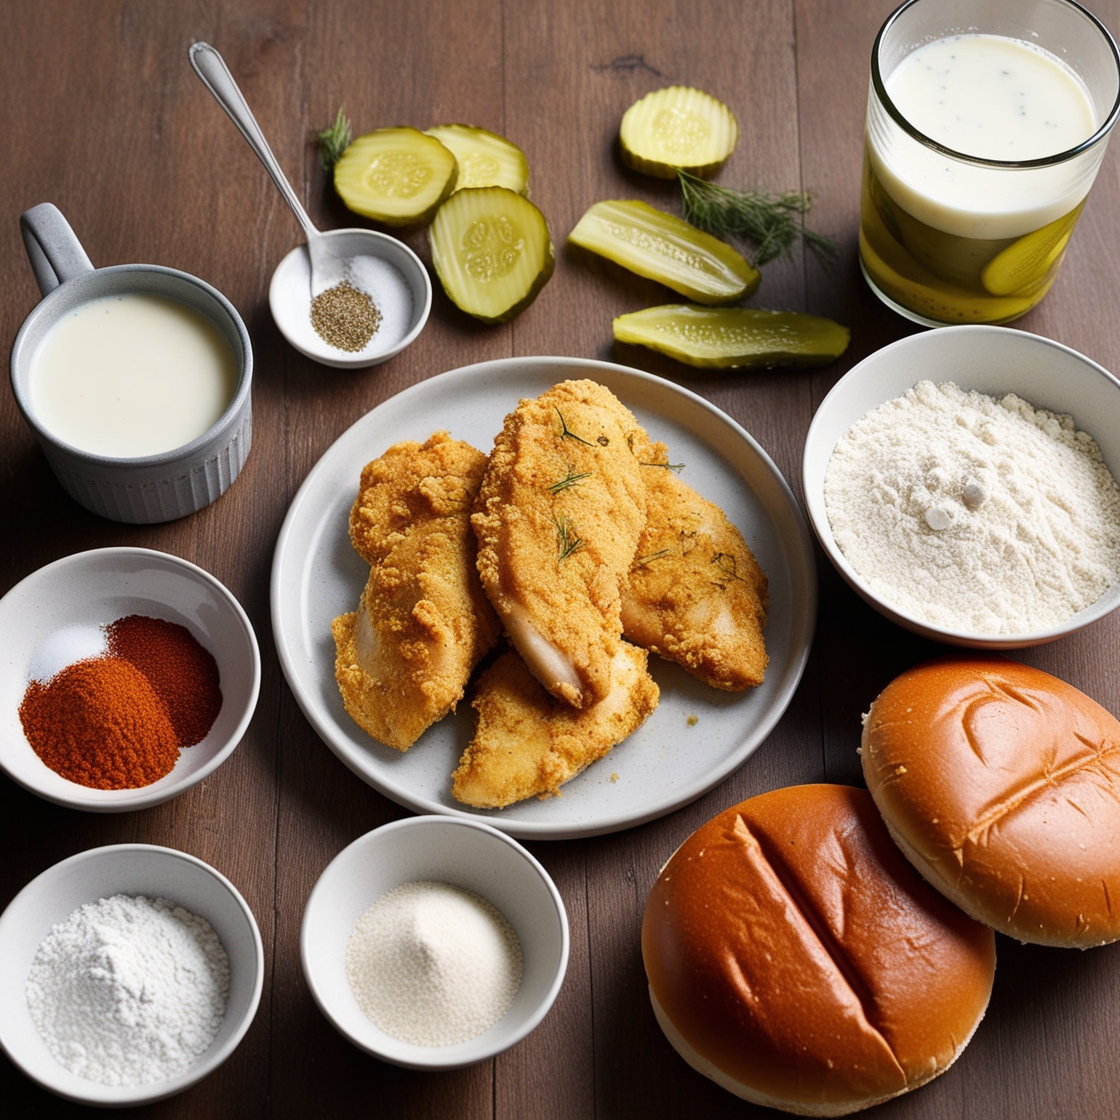
2. Ingredient
Chicken Marinade:
2 boneless, skinless chicken breasts: These will be transformed into deliciously crispy and juicy pieces.
1 cup dill pickle juice: This will tenderize the chicken and infuse it with tangy flavor.
1 cup buttermilk: Adds creaminess and helps tenderize the chicken further.
1 teaspoon paprika: Adds a touch of smoky warmth.
1 teaspoon garlic powder: Enhances the flavor with a savory touch.
1 teaspoon onion powder: Rounds out the marinade with a subtle, savory note.
Breading:
1 cup all-purpose flour: Forms the base for our crispy coating.
1 tablespoon powdered sugar: Adds a hint of sweetness and helps the coating turn golden brown.
1 teaspoon paprika: Adds color and a bit more smoky flavor.
1 teaspoon salt: Brings out the flavors of all the ingredients.
1/2 teaspoon black pepper: Adds a bit of heat.
1/2 teaspoon baking powder: Helps make the breading light and crispy.
Sandwich Assembly:
4 hamburger buns: Pick your favorite—whether it’s soft potato buns, toasted brioche, or even pretzel buns.
Butter for toasting buns: Because toasty, buttery buns make the sandwich even better.
Dill pickle slices: Essential for that classic flavor.
Optional toppings: Lettuce, tomato, and cheese—customize to your liking
Air Frying:
Olive oil spray or cooking spray: Prevents sticking and ensures a golden, crispy exterior.
Now that we have everything ready, let’s make a delicious and healthier version of the Chick-fil-A chicken sandwich in the comfort of your own home.
3. Instructions
Step 1: Prepare chicken
First, we have to turn those chicken breasts into delicious flavor bombs Take a sharp knife and cut each breast in half, creating thinner cutlets. This ensures even cooking and maximizes the desired crispness. Now, in a bowl, prepare a flavorful marinade with the dill soak, buttermilk, paprika, garlic powder, and onion powder.
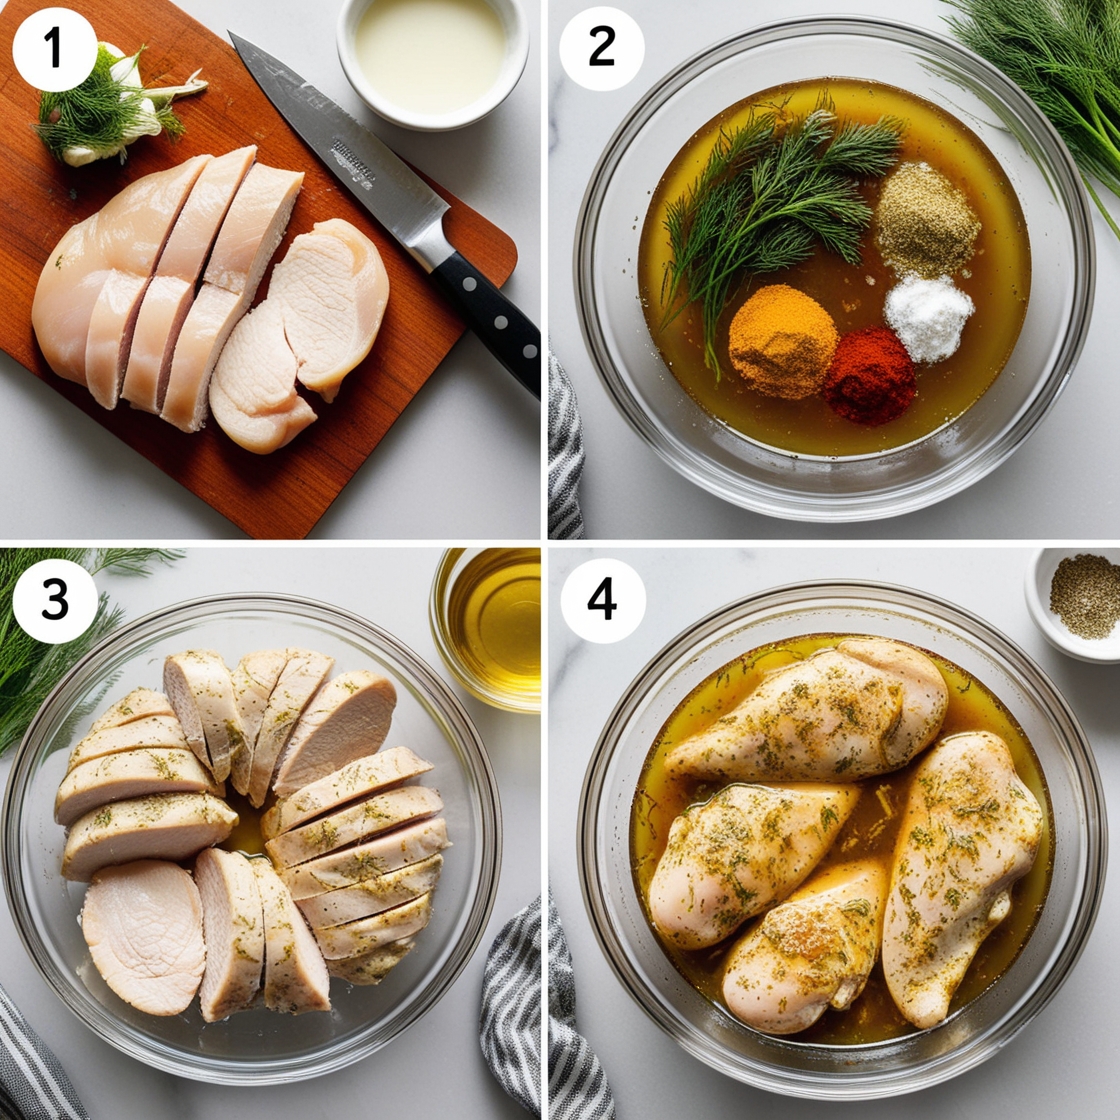
Stir well to combine all those delicious ingredients. Here’s where the magic happens: dunk those chicken pieces in the marinade, making sure they’re completely submerged. Cover the bowl and place in the refrigerator for at least 30 minutes. Feeling more adventurous? Marinate for up to 24 hours to impart final flavor. Patience is a virtue, remember
Step 2: Prepare the cake
While our chicken chills in the refrigerator to soak in the flavors, create that magical crispy crust that covers our masterpiece. In a separate shallow dish, we will mix the flour, powdered sugar (yes, you read that right), paprika, salt, black pepper and baking powder. Mix well until everything is evenly distributed. This dry mixture will be our golden ticket to a crispy, flavorful outer shell.
Step 3: Grill chicken
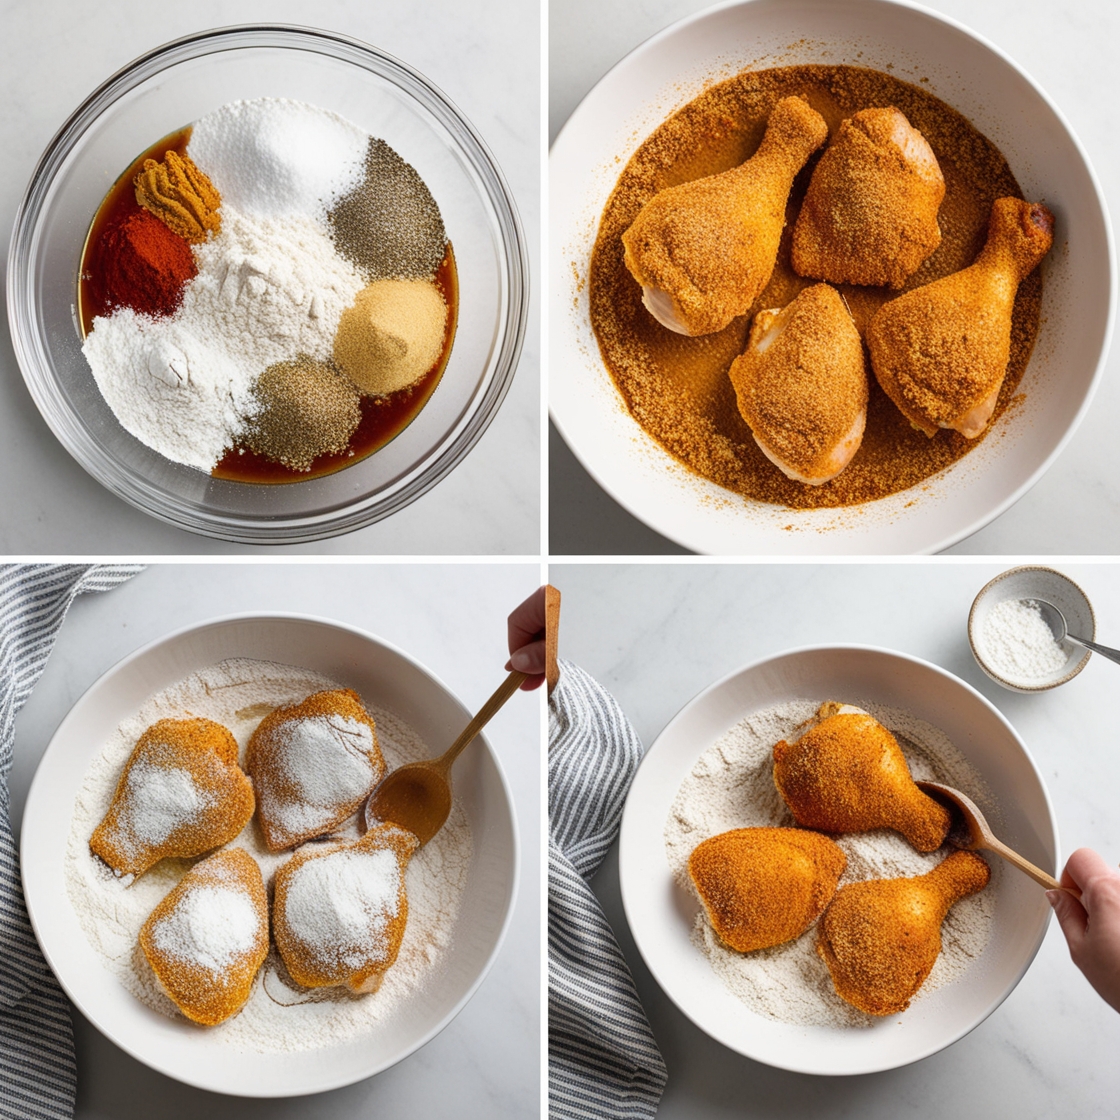
Now, take the marinated chicken pieces out of the refrigerator and let them rest at room temperature for about 10 minutes. This helps ensure even cooking throughout the process. Dip each piece of chicken into the flour mixture, pressing lightly to ensure the meat is nicely and evenly coated. Don’t be shy, wear it beautifully Then shake gently to remove excess flour so we don’t end up with a bread-like mess. We want light and crispy perfection, not a thick, mushy disaster.
Step 4: Air Fry the Chicken
Preheat your air fryer to 375°F (190°C) for 5 minutes.
Lightly spray the air fryer basket with olive oil spray.
Place the breaded chicken pieces in the basket, making sure they do not overlap.
Lightly spray the tops of the chicken with olive oil spray.
Cook for 10-12 minutes, flipping halfway through, until the chicken is golden brown and cooked through (internal temperature should reach 165°F or 74°C).
Step 5: Toast the Buns
While the chicken is cooking, lightly butter the hamburger buns.
Toast the buns in a skillet over medium heat until golden brown.
Step 6: Assemble the Sandwich
Place a piece of air-fried chicken on the bottom half of each toasted bun.
Add dill pickle slices on top of the chicken.
If desired, add lettuce, tomato, and cheese.
Top with the other half of the bun.
Step 7: Serve and Enjoy
Serve your homemade Chick-fil-A chicken sandwich immediately, paired with your favorite side dish. Enjoy the crispy, juicy chicken with the perfect blend of spices and flavors.
4. Variations
Spicy Chicken Sandwich: Add cayenne pepper to the marinade and breading mixture for an extra kick.
Grilled Chicken Sandwich: Marinate the chicken and grill it instead of breading and air frying for a lighter option.
Gluten-Free Version: Use gluten-free flour for the breading and gluten-free buns for assembly.
5. Frequently Asked Questions
Can I marinate the chicken for longer than 24 hours?
It’s best to marinate the chicken for no longer than 24 hours to prevent the meat from becoming too salty or mushy.
What’s the best way to reheat leftover chicken sandwiches?
Reheat the chicken in the air fryer at 350°F (175°C) for 3-5 minutes to maintain its crispiness. Toast the buns separately.
Can I use chicken thighs instead of chicken breasts?
Yes, chicken thighs can be used and will provide a juicier and more flavorful sandwich.
What sides pair well with a Chick-fil-A chicken sandwich?
Classic sides include waffle fries, coleslaw, or a simple side salad.
How can I make the sandwich spicier?
Add extra hot sauce or spicy mayonnaise to the sandwich assembly.
By following this guide, you can enjoy a delicious, healthier version of the Chick-fil-A chicken sandwich at home. Happy cooking!